
The job in one paragraph
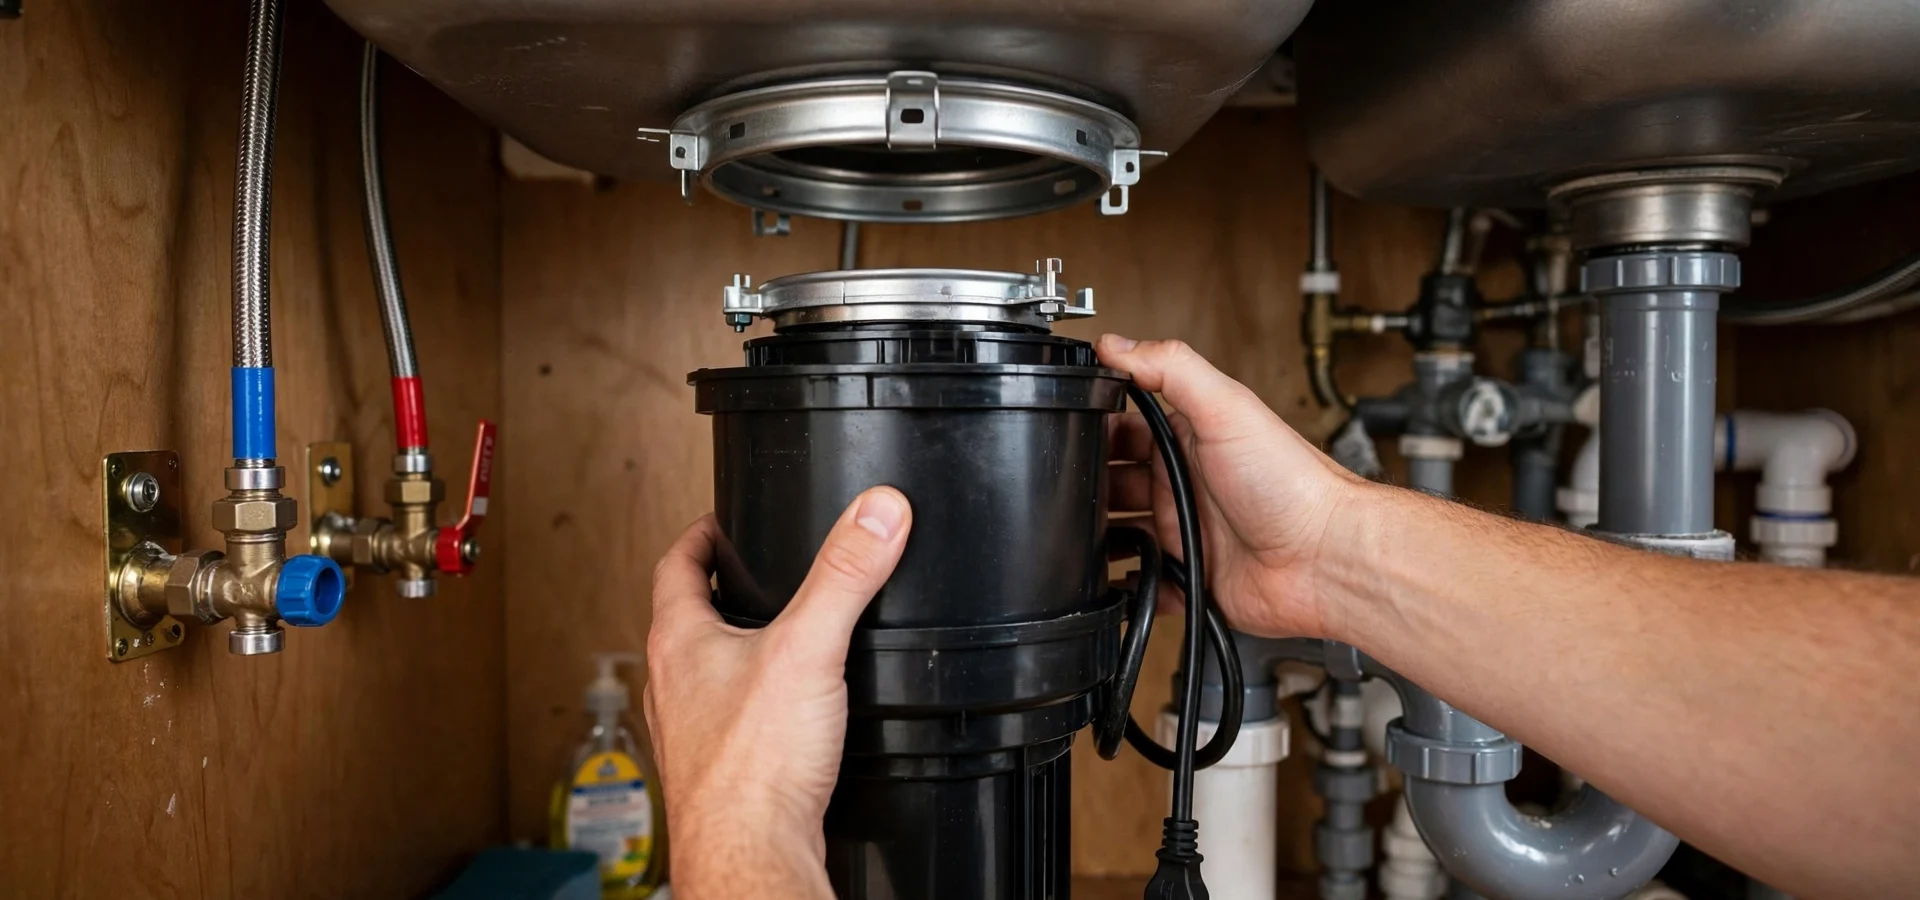
To install a garbage disposal, switch off the power at the breaker, remove the old unit or the sink flange, and attach the mounting assembly to the sink. Then hang the new disposal on the ring, connect the electrical supply, and connect the discharge pipe to the trap. If a dishwasher is present, knock out the plug in its inlet and connect its hose. Most replacements take one to two hours.
The brand does not change the sequence. InSinkErator, Waste King, and other disposals all use a mounting ring that twists and locks, a discharge tube, and an electrical box under the housing.
Safety before anything else
Turn the breaker off and confirm the disposal is dead before you touch it. A wall switch is not a lock, so test the wires with a voltage tester. Never put a hand into a disposal, even when it is off. Use tongs or pliers for anything stuck, and use the hex socket under the unit to turn the blades by hand.
Collect these before you start
Check the box for each item, and you will not have to stop with the sink torn apart.
- The new disposal and its installation kit, including the mounting ring, snap ring, and flange.
- Plumber's putty or the gasket supplied with the kit.
- A power cord kit if your outlet is under the sink and the disposal comes without a cord.
- A new trap arm, tailpiece, and washers, if the discharge height does not match your old one.
- A screwdriver, a hammer, an adjustable wrench, wire strippers, a voltage tester, and a bucket.
- A new dishwasher drain hose clamp if a dishwasher connects to the unit.
Setting the new disposal, start to finish
Take your time on the mounting ring. Most leaks begin there.
- 1
Remove the old unit
Disconnect the power, drain pipe, and dishwasher hose. Lift the disposal while twisting the lower ring, and release the snap ring on the sink flange. Clean the old putty off the sink opening.
- 2
Seat the new flange
Press a rope of putty under the new flange and set it in the sink. From below, slide on the gasket, backup ring, and mounting ring, and seat the snap ring. Tighten the three mounting screws evenly until the flange is firm.
- 3
Wire and hang
Open the electrical plate. Join the black wires, the white wires, and the green or bare ground, using wire nuts. Close the plate, lift the unit to the ring, and rotate until the tabs lock.
- 4
Connect the drain and test
Attach the discharge tube and the trap with a rubber washer. Run water, switch it on for a few seconds, and look and feel for drips on every joint.
Connecting the dishwasher drain
If the dishwasher drains through the disposal, the inlet has a plastic knockout plug that must be removed. Skip this step and the dishwasher will not drain at all, which is the most common mistake on a first install. Tap the plug out with a screwdriver and fish out the plastic piece.
The hose should rise in a high loop under the counter or go through an air gap before it joins the disposal. That keeps dirty water from flowing back toward the dishwasher. Tighten the hose clamp with a screwdriver, and avoid kinking the hose behind the cabinet.
Replacement or first-time install?
The two jobs look alike but are not.
| Scenario | DIY reasonable? | What changes |
|---|---|---|
| Replace the same style of unit | Yes | Same electrical, same drain height |
| Replace with a larger horsepower | Usually | May need a longer tube or new trap |
| Add to a sink with no outlet | No | Needs a new outlet or switch circuit |
| Add to a double bowl with a single trap | Maybe | Needs a tee and the right arm height |
| Old drain is corroded steel | No | Disturbing it can crack the pipe |
Choosing a disposal that fits the household
Horsepower matters less than it sounds. A one-third horsepower unit handles light scraps, while a half-horsepower or three-quarter unit grinds tougher food and runs smoother. Continuous-feed units run while the switch is on. Batch-feed units run only with the lid in place, which adds a layer of safety around children.
Sound insulation, the grind chamber material, and the mounting design also affect longevity. Stainless grind parts resist corrosion better than coated ones. Pick something that matches the amount of cooking you do, not the biggest number on the box.
What not to put down the disposal
A disposal grinds soft scraps. It is not a trash can.
Grease and oil
They coat the pipe and harden. Pour them into a can and throw it away.
Fibrous scraps
Celery, corn husks, and artichoke leaves wrap around the blades and knot into stringy clogs in the trap.
Coffee grounds
They pack tight in the trap and build a paste. Use the compost or trash instead.
Bones and pits
Hard items dull the blades and can jam the unit.
Starches
Pasta and rice swell with water and turn into paste, then gum up the drain line.
Mistakes that show up on the first day
A leak at the mounting ring usually means the putty was thin or the screws were unevenly tightened. Take the disposal down, re-seat the flange, and try again. Do not just add more putty on the outside.
A hum with no spin means a jam, not a dead motor. Turn off the power, use the hex key under the unit to rock the blades free, press the red reset button on the bottom, and try again.
If the drain still backs up or the cabinet stays damp after you have checked your work, a plumber can find the cause. Our team can handle faucet and sink supply faults along with the disposal when the sink area has several issues.
Covington, KY: what to know before you start
Plumbing in Kentucky falls under the Kentucky State Plumbing Code, which is required by KRS 318.130 and enforced through the Division of Plumbing. This post does not give code specifics, because rules and local practice vary. If you are changing the drain layout or running new pipe, ask the Division of Plumbing or the local plumbing inspector whether a permit applies.
Many Covington kitchens are in older houses, and the drain line behind the cabinet can be galvanized steel or cast iron with rough interiors. A disposal pushes ground food through a pipe like that, and scale can snag it and cause repeat clogs. If the drain is old, have a plumber look at the pipe before you add a disposal, and consider drain cleaning or a pipe upgrade first.
Source type: [DHBC] Kentucky State Plumbing Code under KRS 318.130 and Division of Plumbing role
Frequently asked questions
A swap of the same style takes about one to two hours. A first-time install, with electrical and drain changes, can take half a day or more. Allow extra time for corroded fittings.
Most disposals either hardwire into a junction box or plug into a switched outlet under the sink. If neither exists, a new circuit is a job for a licensed electrician, and your plumber can coordinate.
No. Turn off the power, then use tongs or the hex socket on the bottom to free the blades. Switching it on while your hand is inside is a serious injury risk.
The knockout plug in the disposal inlet was probably left in place. Turn off the power, disconnect the hose, and remove the plug with a screwdriver. Then reattach the hose and test.
A jam or tripped reset is usually a quick fix. A leaking housing is a sign to replace. A licensed plumber will give you a clear price before work starts for either option.
It can when the drain line is rough or half blocked. Grease and starch settle downstream of the unit. Pair a new disposal with a check on the line if your sink was already sluggish.
Yes. Kentucky's State Plumbing Code applies under KRS 318.130, and the Division of Plumbing sets the rules. We do not quote edition details here, so ask the Division of Plumbing or your local inspector. Neighbors in Park Hills and Taylor Mill follow the same state code.